This week’s DIY Craft Tutorial is a from guest blogger Suzy Mora. Suzy is the talented blogger behind the craft blog suzysewcrafty.com and owner/creator at Suzy Sew Crafty on Etsy. I have graciously been permitted to use her fantastic original sewing tutorial. I hope you enjoy this tutorial, and stop by her fantastic blog and Etsy shop.
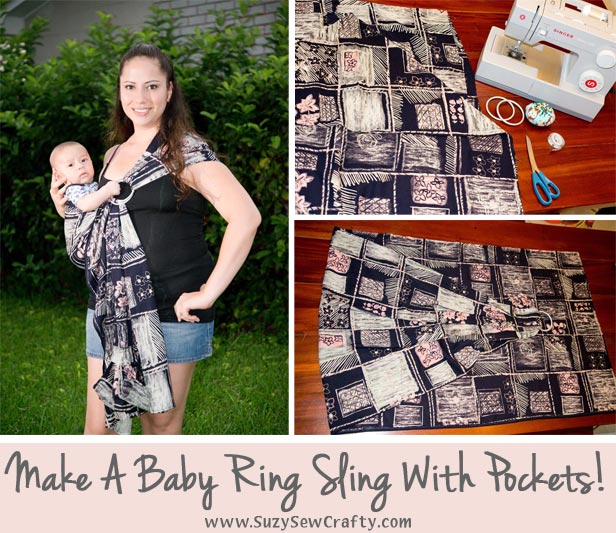
A Baby Ring Sling With Pockets!
After reading how convenient and easy it is to make a ring sling, I have been so excited to make my own for baby Silar. He just loves to be with me all the time, and I absolutely adore it but sometimes mama needs to get things done around the house! So a ring sling was the perfect solution. Not to mention that you can nurse the baby in a ring sling!! What?! That had me sold immediately!
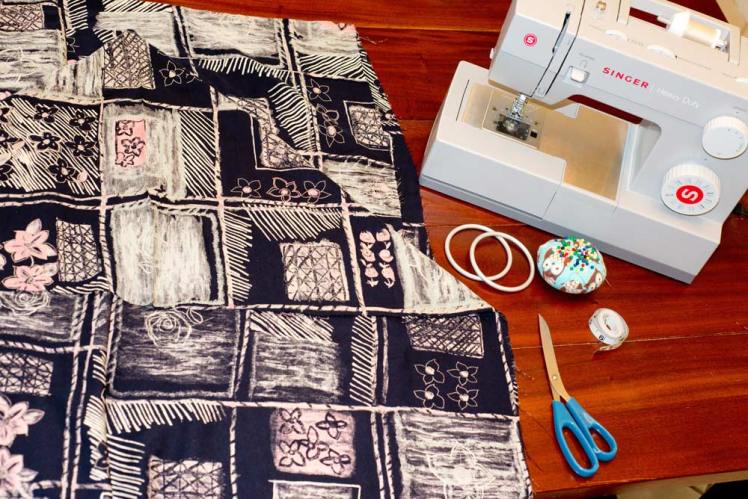
I bought my sling rings from slingrings.com. They are thoroughly tested to withstand a ton of weight and they come in all sorts of colors and a few varieties. I would highly recommend them! Here’s how I completed my sling:
First, I measured two and a quarter yards of fabric. (Side Note: 2.25 yards was a good length for a sling with no pocket, it could’ve even been shorter. However, I decided to add a pocket AFTER my sling was done and I wish I had cut 2.5 yards of fabric so that I could fold the tail of the sling up and add the pocket at the end without having to top stitch it on. That would’ve been a lot easier.)
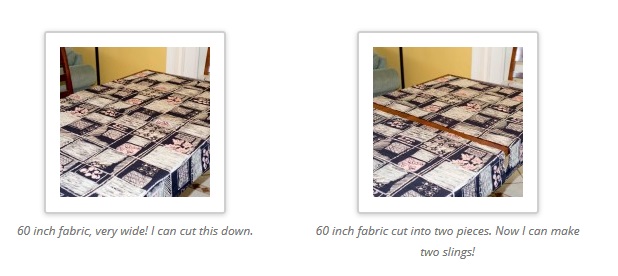
My fabric was 60″ wide, wayyyy too wide. In fact, if I cut it in half length-wise I could make TWO slings!
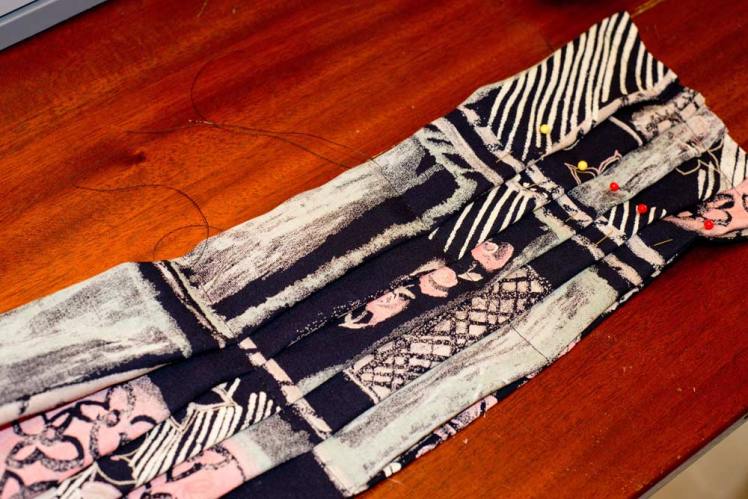
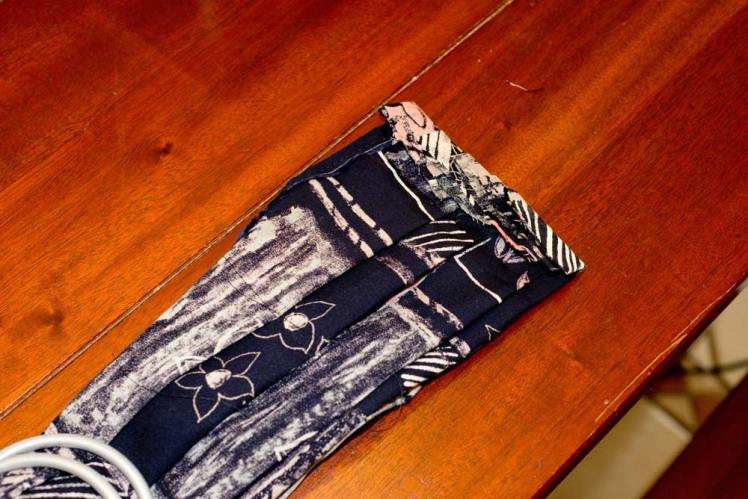
Now that I’ve got the fabric cut, I hemmed both long edges and one short edge. The other short edge I left raw because that will be where I thread my sling through. I then pleated the end with the raw edge and pinned them. I then basted (running the sewing machine straight across without reverse stitching so the baste is easy to take out later.) the pleats and removed the pins.
After that I turned it over and pressed the raw edge. Now, my fabric was thinner because I cut it earlier and my material was also pretty thin, so you may not be able to this with thicker fabric.
If you don’t want to add a pocket to your sling, then you are ALL DONE!! ![]() You can also watch the video below for a more in-depth look at how to make your sling, including the pleating and how to wear your sling!
You can also watch the video below for a more in-depth look at how to make your sling, including the pleating and how to wear your sling!
http://youtu.be/y7f_f7S28SI
Adding a pocket:
Ok, so as I mentioned earlier. I cut 2.25 yards and decided to add a pocket after I completed the sling. So the instructions I’m including are for a top-stitched pocket.
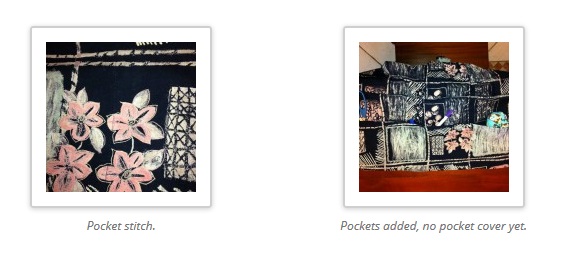
So after I finished the sling, I cut about a 7″ x 30″ piece of fabric and a 3″ x 30″ piece of fabric. I pressed in the edges to hem it nicely. I then top stitched the side that would be open on the pockets to seal the hem and pinned the pocket fabric piece to the tail of the sling. Followed by top stitching all three sides of the pocket onto the sling. Voila, your pocket is attached! After that you can create your compartments. I chose three, one smaller one and two larger ones. I top stitched them to the sling and created my compartments.
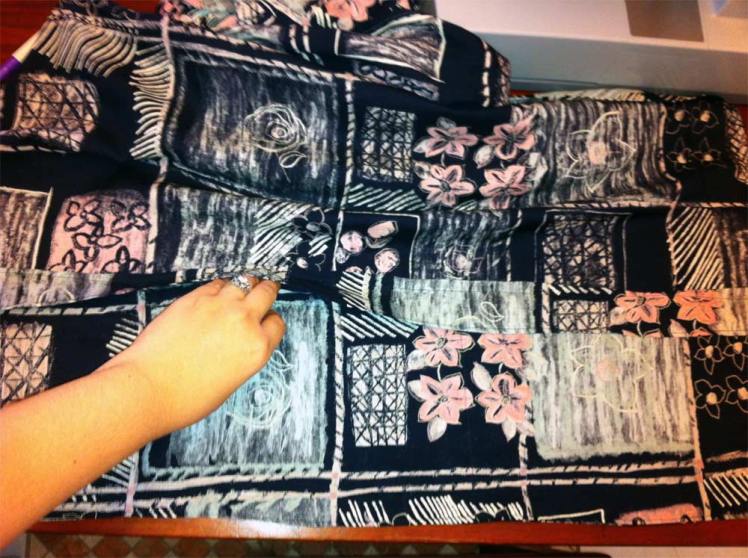
After that I pinned the pocket cover to the tail, overlapping it slightly over the pockets so that I can attach snaps later. I repeated the top stitching for the pocket cover.
Next up, I chose to add snaps to the pockets because I didn’t have any zippers handy. I think it would be pretty cool with zippers too! Maybe I’ll try that on the next one. ![]()
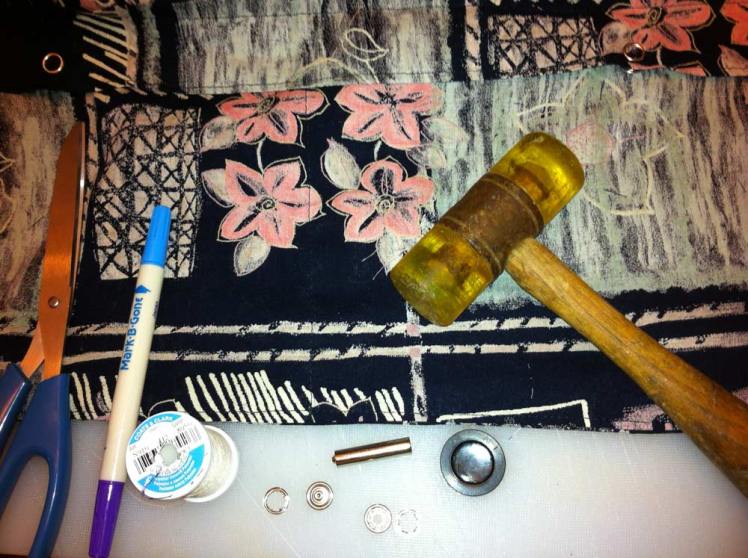
Choose where you want your snaps, and pull out a marking pen, spool of thread, hammer or mallet, and the snaps and get ready to rock and roll. (I also used some tools that I had on hand with the heavy duty snaps that I have but they really weren’t necessary.)
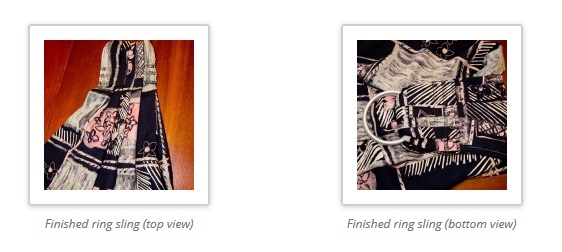
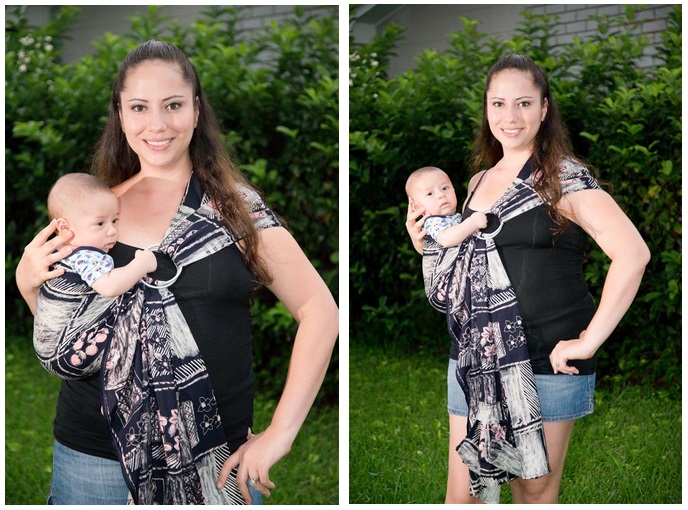
Once your snaps are fastened, you are all done! Now it’s time to wear your baby like I’m wearing mine now!
Below: Suzy models finished project with baby Silar!

Want to see more from Suzy Sew Crafty?

Visit her blog here for more DIY/ Sewing Tutorials and other craft ideas!
Stop by her Etsy shop to see her beautiful embroider and monogram art.Visit her website here at Creative Stitch Embroidery.

Thank you so much for the wonderful feature. Truly appreciated! Will be sharing on my social sites for sure!
LikeLike